Brand:PROSOFT
Model: MVI56-LTQ
Status: New/Used
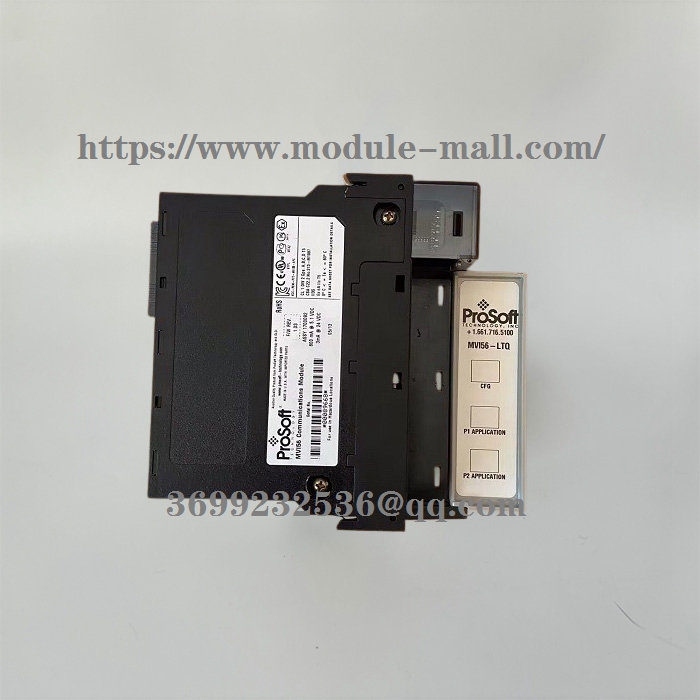
PROSOFT MVI56-LTQ ControlLogix PlatformLimitorque Valve Actuator MasterCommunication Module
PROSOFT MVI56-LTQ
PROSOFT MVI56-LTQ ControlLogix PlatformLimitorque Valve Actuator MasterCommunication Module
System Requirements
The MVI56-LTQ module requires the following minimum hardware and software components:
Rockwell Automation ControlLogix™ processor, with compatible power supply and one free slot in the rack, for the MVI56-LTQ module. The module requires 800 mA of available power.
Rockwell Automation RSLogix 5000 programming software version 2.51 or higher
Rockwell Automation RSLinx communication software
Pentium®II 450 MHz minimum. Pentium III 733 MHz (or better) recommended
Supported operating systems:
o Microsoft Windows XP Professional with Service Pack 1 or 2
o Microsoft Windows 2000 Professional with Service Pack 1, 2, or 3
o Microsoft Windows Server 2003
128 Mbytes of RAM minimum, 256 Mbytes of RAM recommended
100 Mbytes of free hard disk space (or more based on application requirements)
256-color VGA graphics adapter, 800 x 600 minimum resolution (True Color 1024 × 768 recommended)
ProSoft Configuration Builder, HyperTerminal or other terminal emulator program.
Note: You can install the module in a local or remote rack. For remote rack installation, the module requires EtherNet/IP or ControlNet communication with the processor.
Package Contents
The following components are included with your MVI56-LTQ module, and are all required for installation and configuration.
Important: Before beginning the installation, please verify that all of the following items are present.
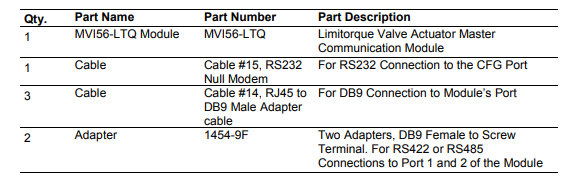
If any of these components are missing, please contact ProSoft Technology Support for replacement parts.
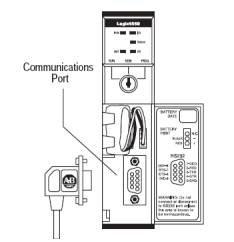
Connecting Your PC to the ControlLogix Processor
、There are several ways to establish communication between your PC and the ControlLogix processor. The following steps show how to establish communication through the serial interface. It is not mandatory that you use the processor's serial interface. You may access the processor through whatever network interface is available on your system. Refer to your Rockwell Automation documentation for information on other connection methods.
1 Connect the right-angle connector end of the cable to your controller at the communications port.
2 Connect the straight connector end of the cable to the serial port on your computer.